
Slider Section
Who To Work
Simple Working Process
Keeping the outdoor unit clean, and sealing any leaks in your home can improve efficiency
Cool Wave System
Upgrade to the latest energy-efficient air conditioning Frost technology with Eco Cool
Read More →Arctic Installations
The Arctic Blast Repair service addresses all your air Eco Cool conditioning repair needs
Read More →Air Flow Solutions
Our Quick Cool installation and service provides fast and cooling efficient installation
Read More →Emergency Service
We handle everything from assessing your cooling needs to positioning Arctic Blast
Read More →our work

Phoenix Citadel Mall
Entire Mall project, 6000 sqft
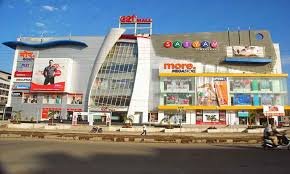
C21 Mall
Entire Mall project, 3000 sqft
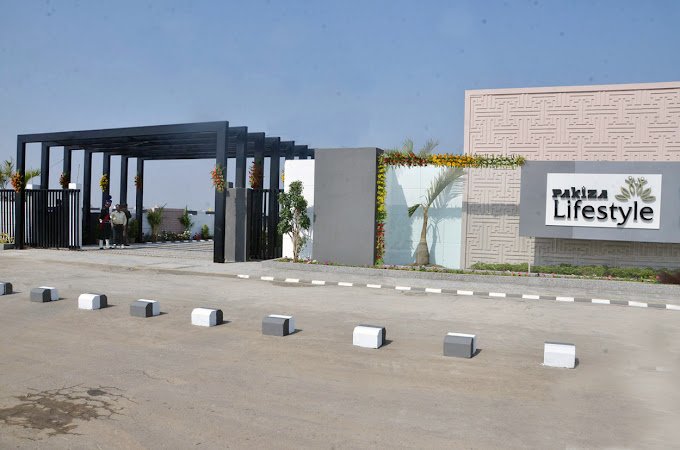
Pakiza Life Style
Complete project, 5 Major Villas, 5000 sqft
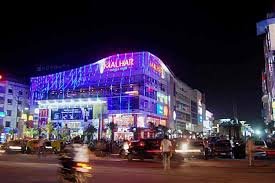
Malhar Mega Mall
Entire Mall project, 2000 sqft

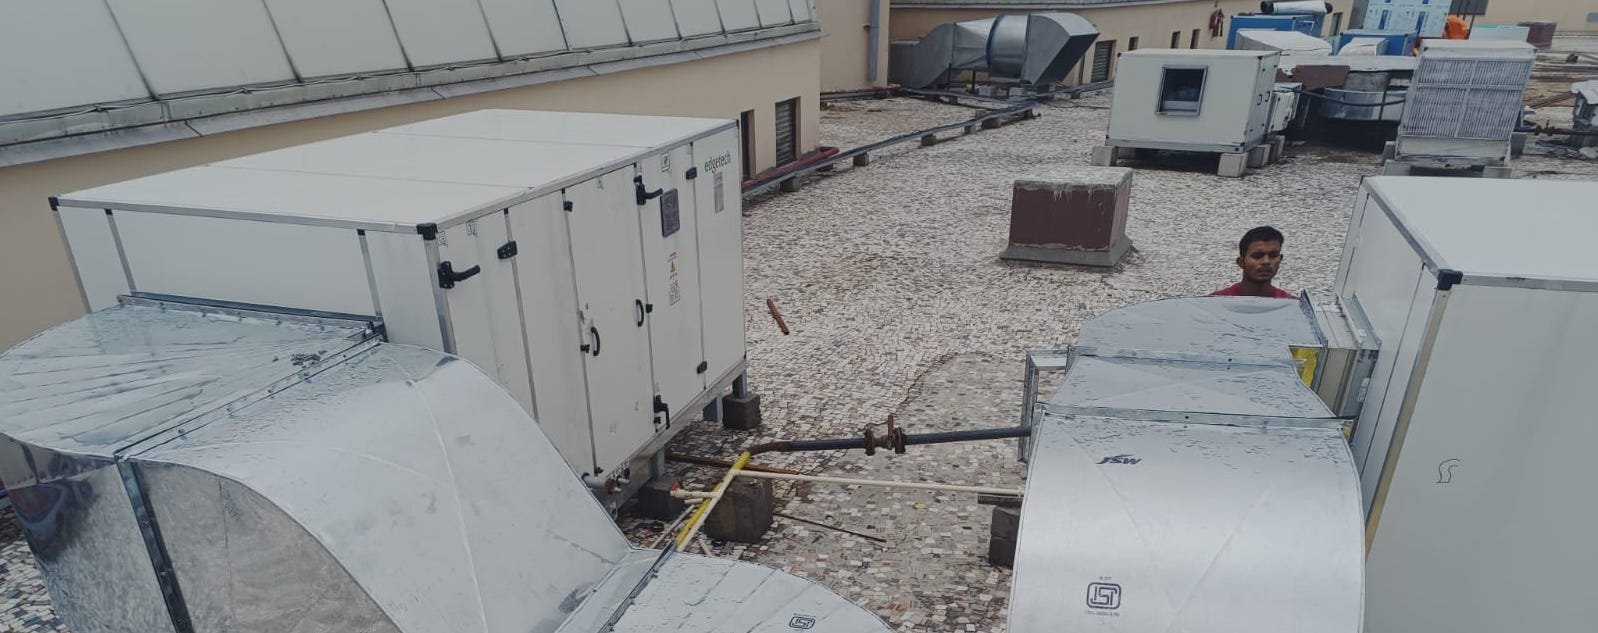
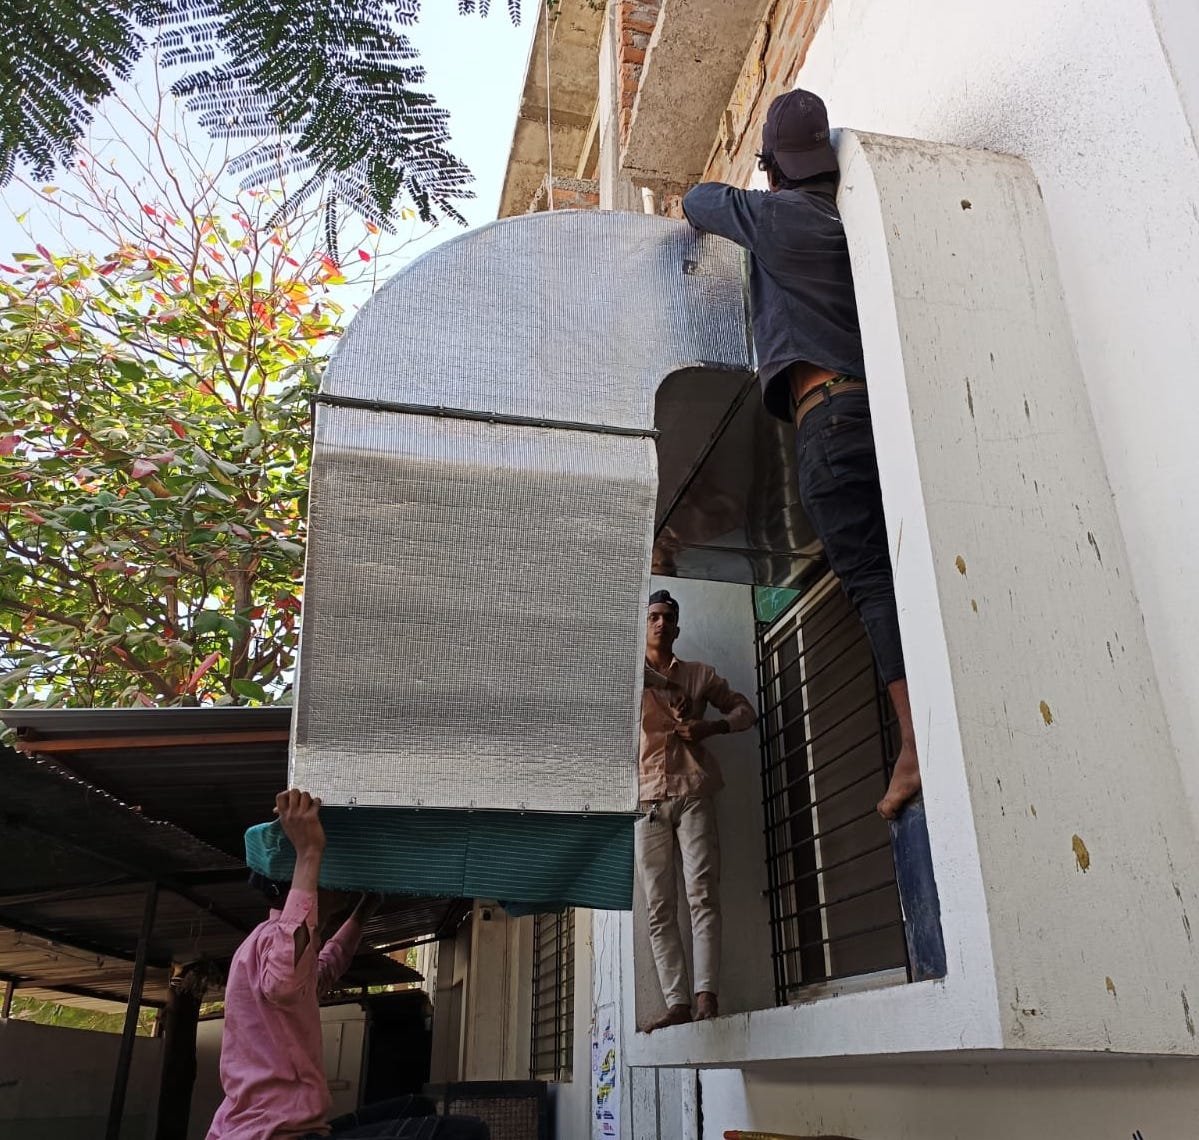
Wall Mounted Air Cooler
Industrial air cooler installed on a factory wall.
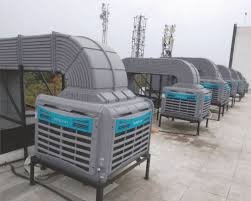
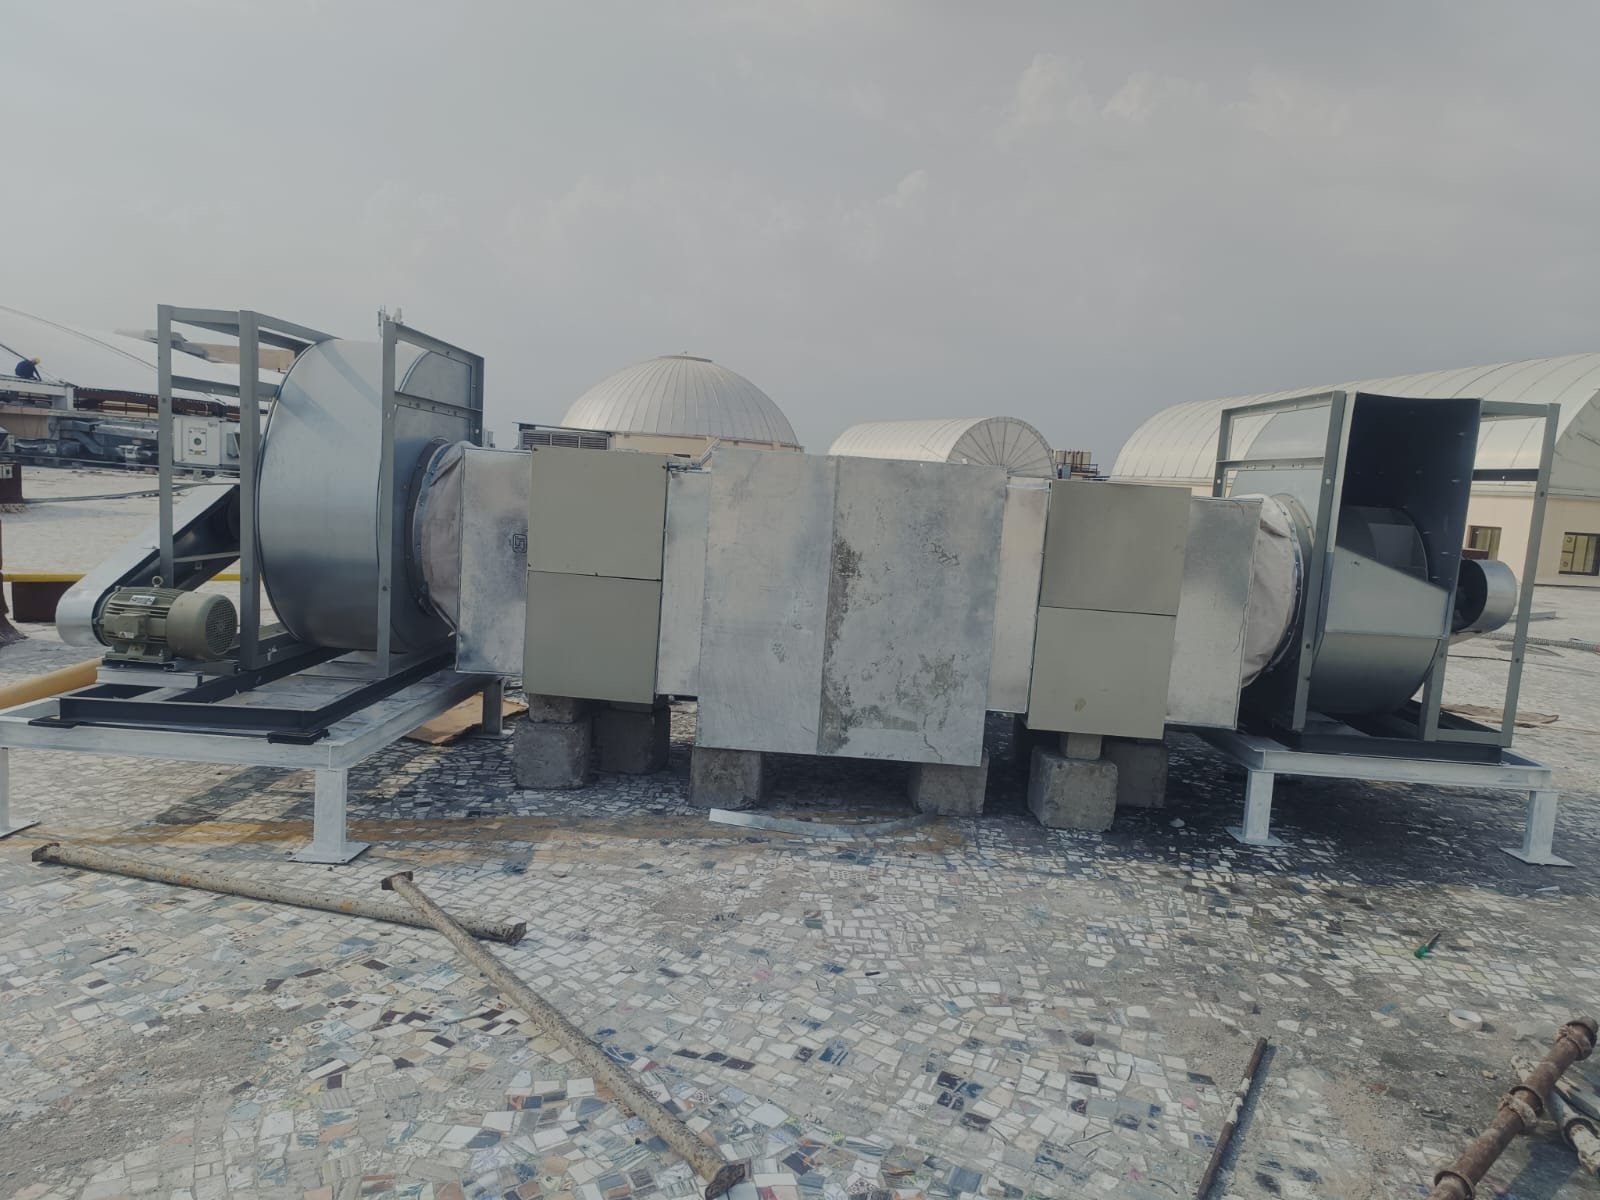
Industrial Cooler Outdoor
Outdoor cooler unit mounted on a building.
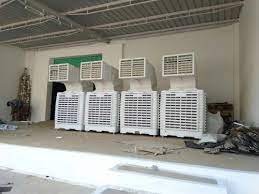
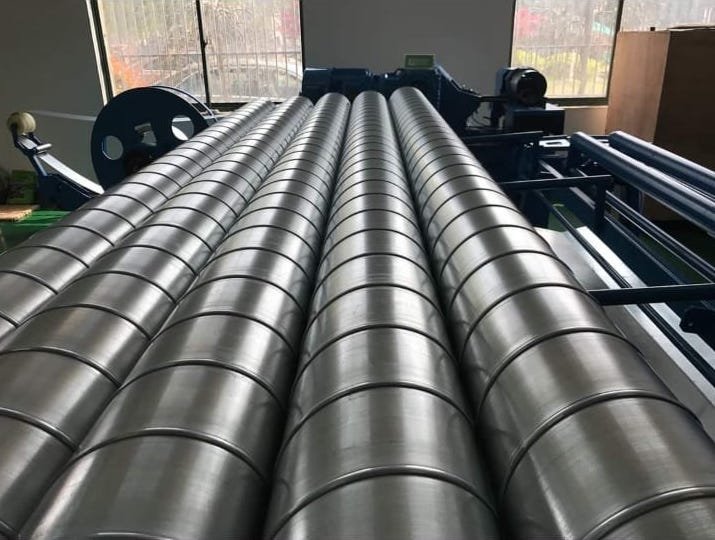
Stacked Air Cooler
Multiple air coolers stored in a warehouse.
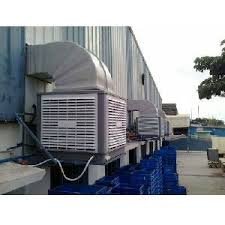
Factory Wall Mounted ooler
Air cooling system installed on a factory exterior.
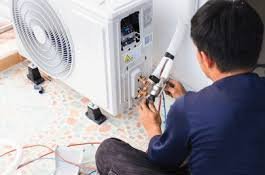
AC Technician Repairing.
Technician repairing an outdoor AC unit
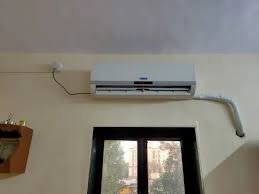
Indoor AC Mounted
Wall-mounted indoor air conditioner in a room.

Hvac Technician Installing
HVAC technician installing an outdoor AC unit
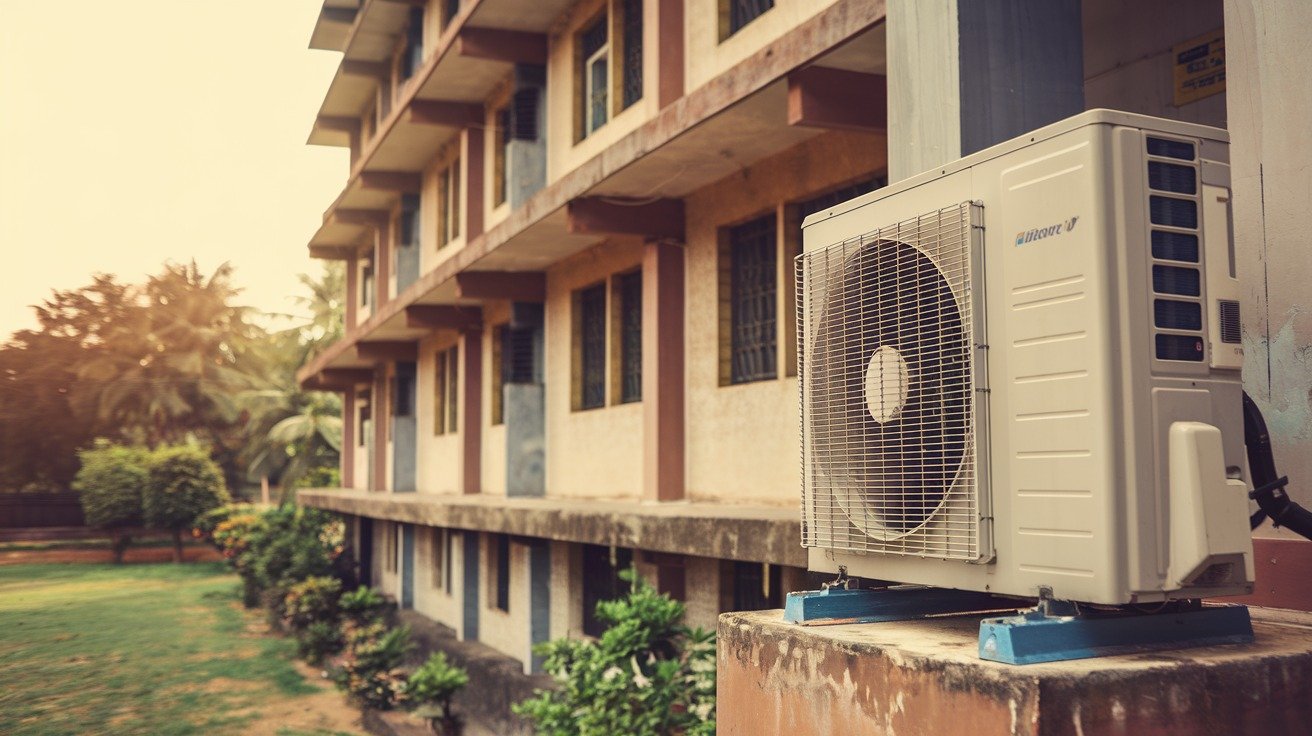
Apartment AC Outdoor
Outdoor AC unit installed in a residential building.
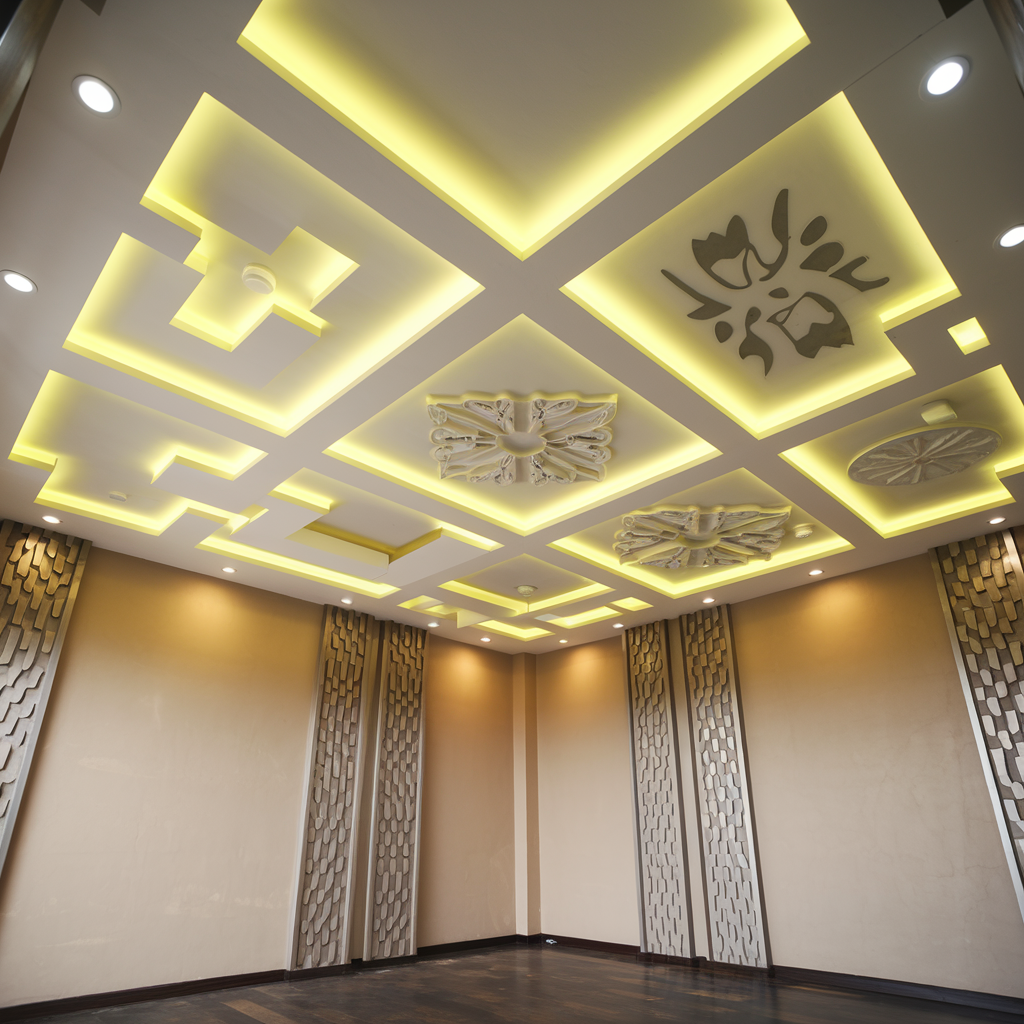
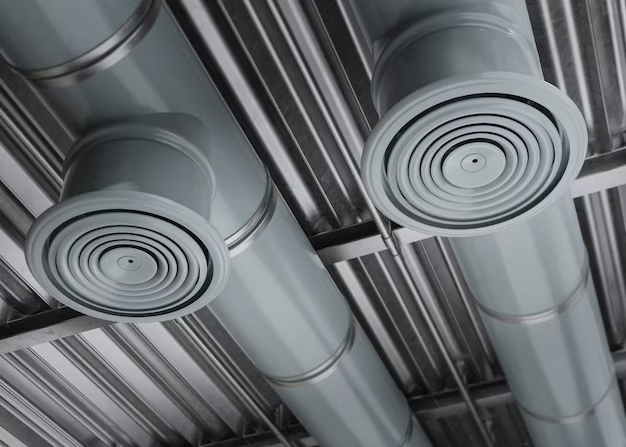
Luxury False Ceiling
Modern false ceiling with LED lighting.
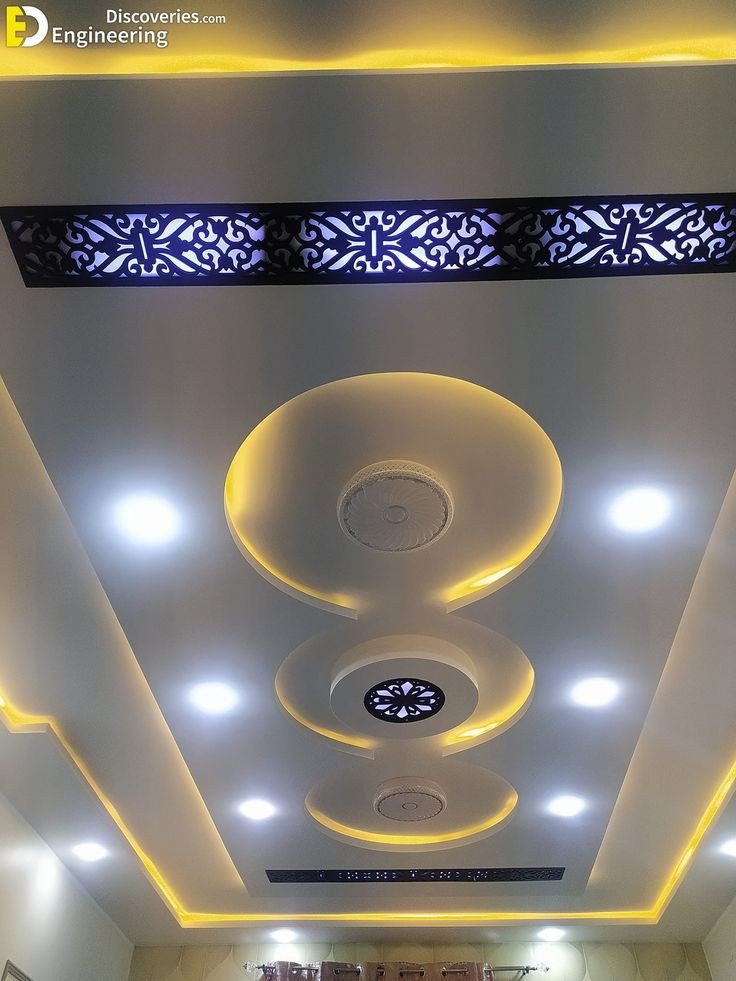
Decorative False Ceiling
Stylish false ceiling with unique lighting patterns.
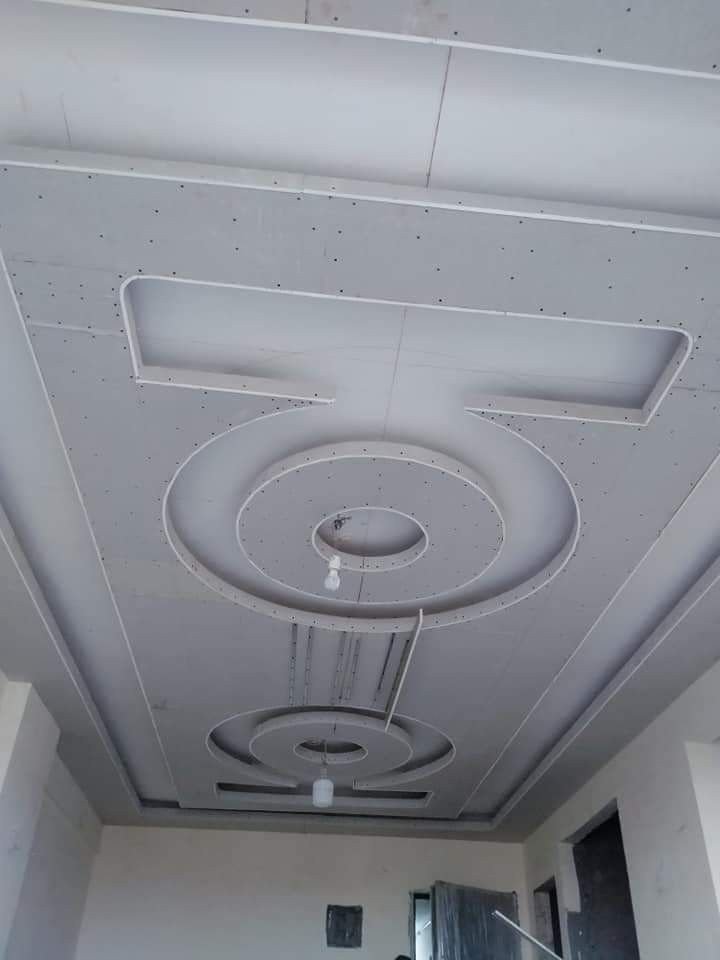
Gypsum Ceiling Installation
Gypsum false ceiling under construction.
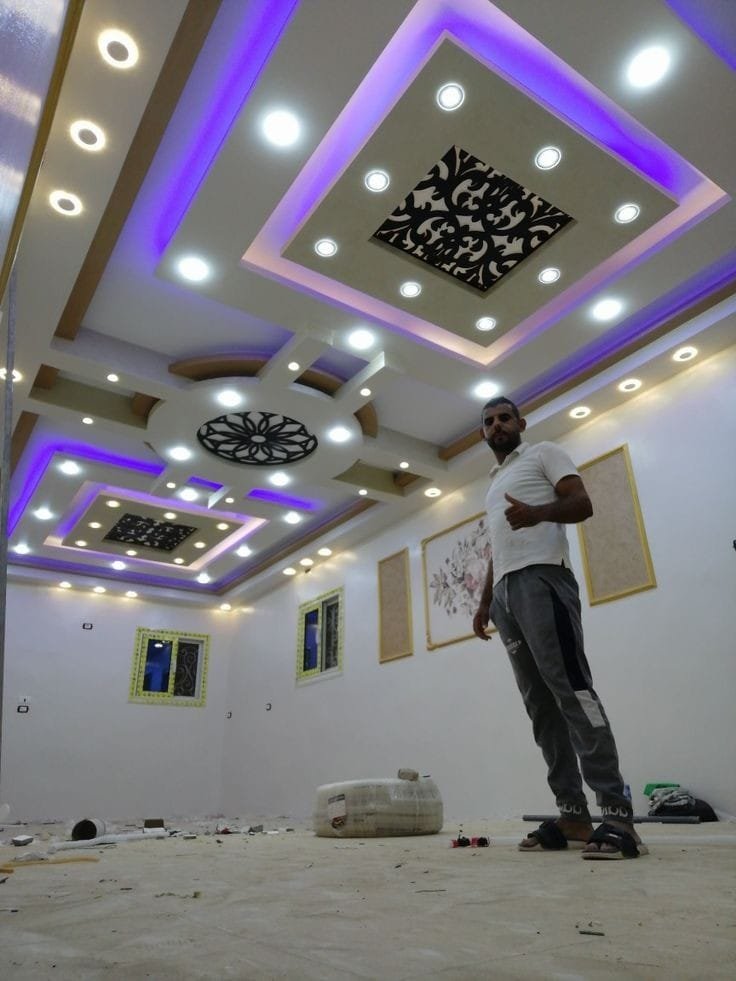
Modern False Ceiling
Interior designer working on a false ceiling with LED lights.
Assessment & Planning
- Analyze building layout: consider room size, ceiling height, and insulation.
- Identify high cooling need areas: large windows, poor insulation, or high occupancy.
- Perform Manual J Load Calculation for precise cooling load (BTUs).
- Calculate required airflow (CFM) per room based on size, orientation, and heat factors.
- Implement proper zoning for independent temperature control in larger spaces.
- Design duct layout: centralize the main trunk, keep branches short/direct, and position vents strategically.
- Focus on balanced air distribution and energy efficiency for consistent comfort.
Architecture
- Duct Placement: Position ducts in accessible areas to minimize resistance and ensure efficient airflow.
- Integration with Design: Incorporate ducts into the building’s layout without disrupting the aesthetic or functionality.
- Zoning: Divide the building into cooling zones for better temperature control and energy efficiency.
- Insulation: Use proper insulation for ducts, especially in unconditioned spaces, to reduce energy loss.
- Noise Control: Implement noise-reducing materials and design to prevent sound transmission through ducts.
- Space Optimization: Ensure ducts do not interfere with other systems like plumbing or wiring and maximize space efficiency.
- Sustainability: Use energy-efficient materials and incorporate passive cooling techniques for reduced environmental impact.
- Maintenance: Design for easy access to ducts to facilitate regular maintenance and inspections.
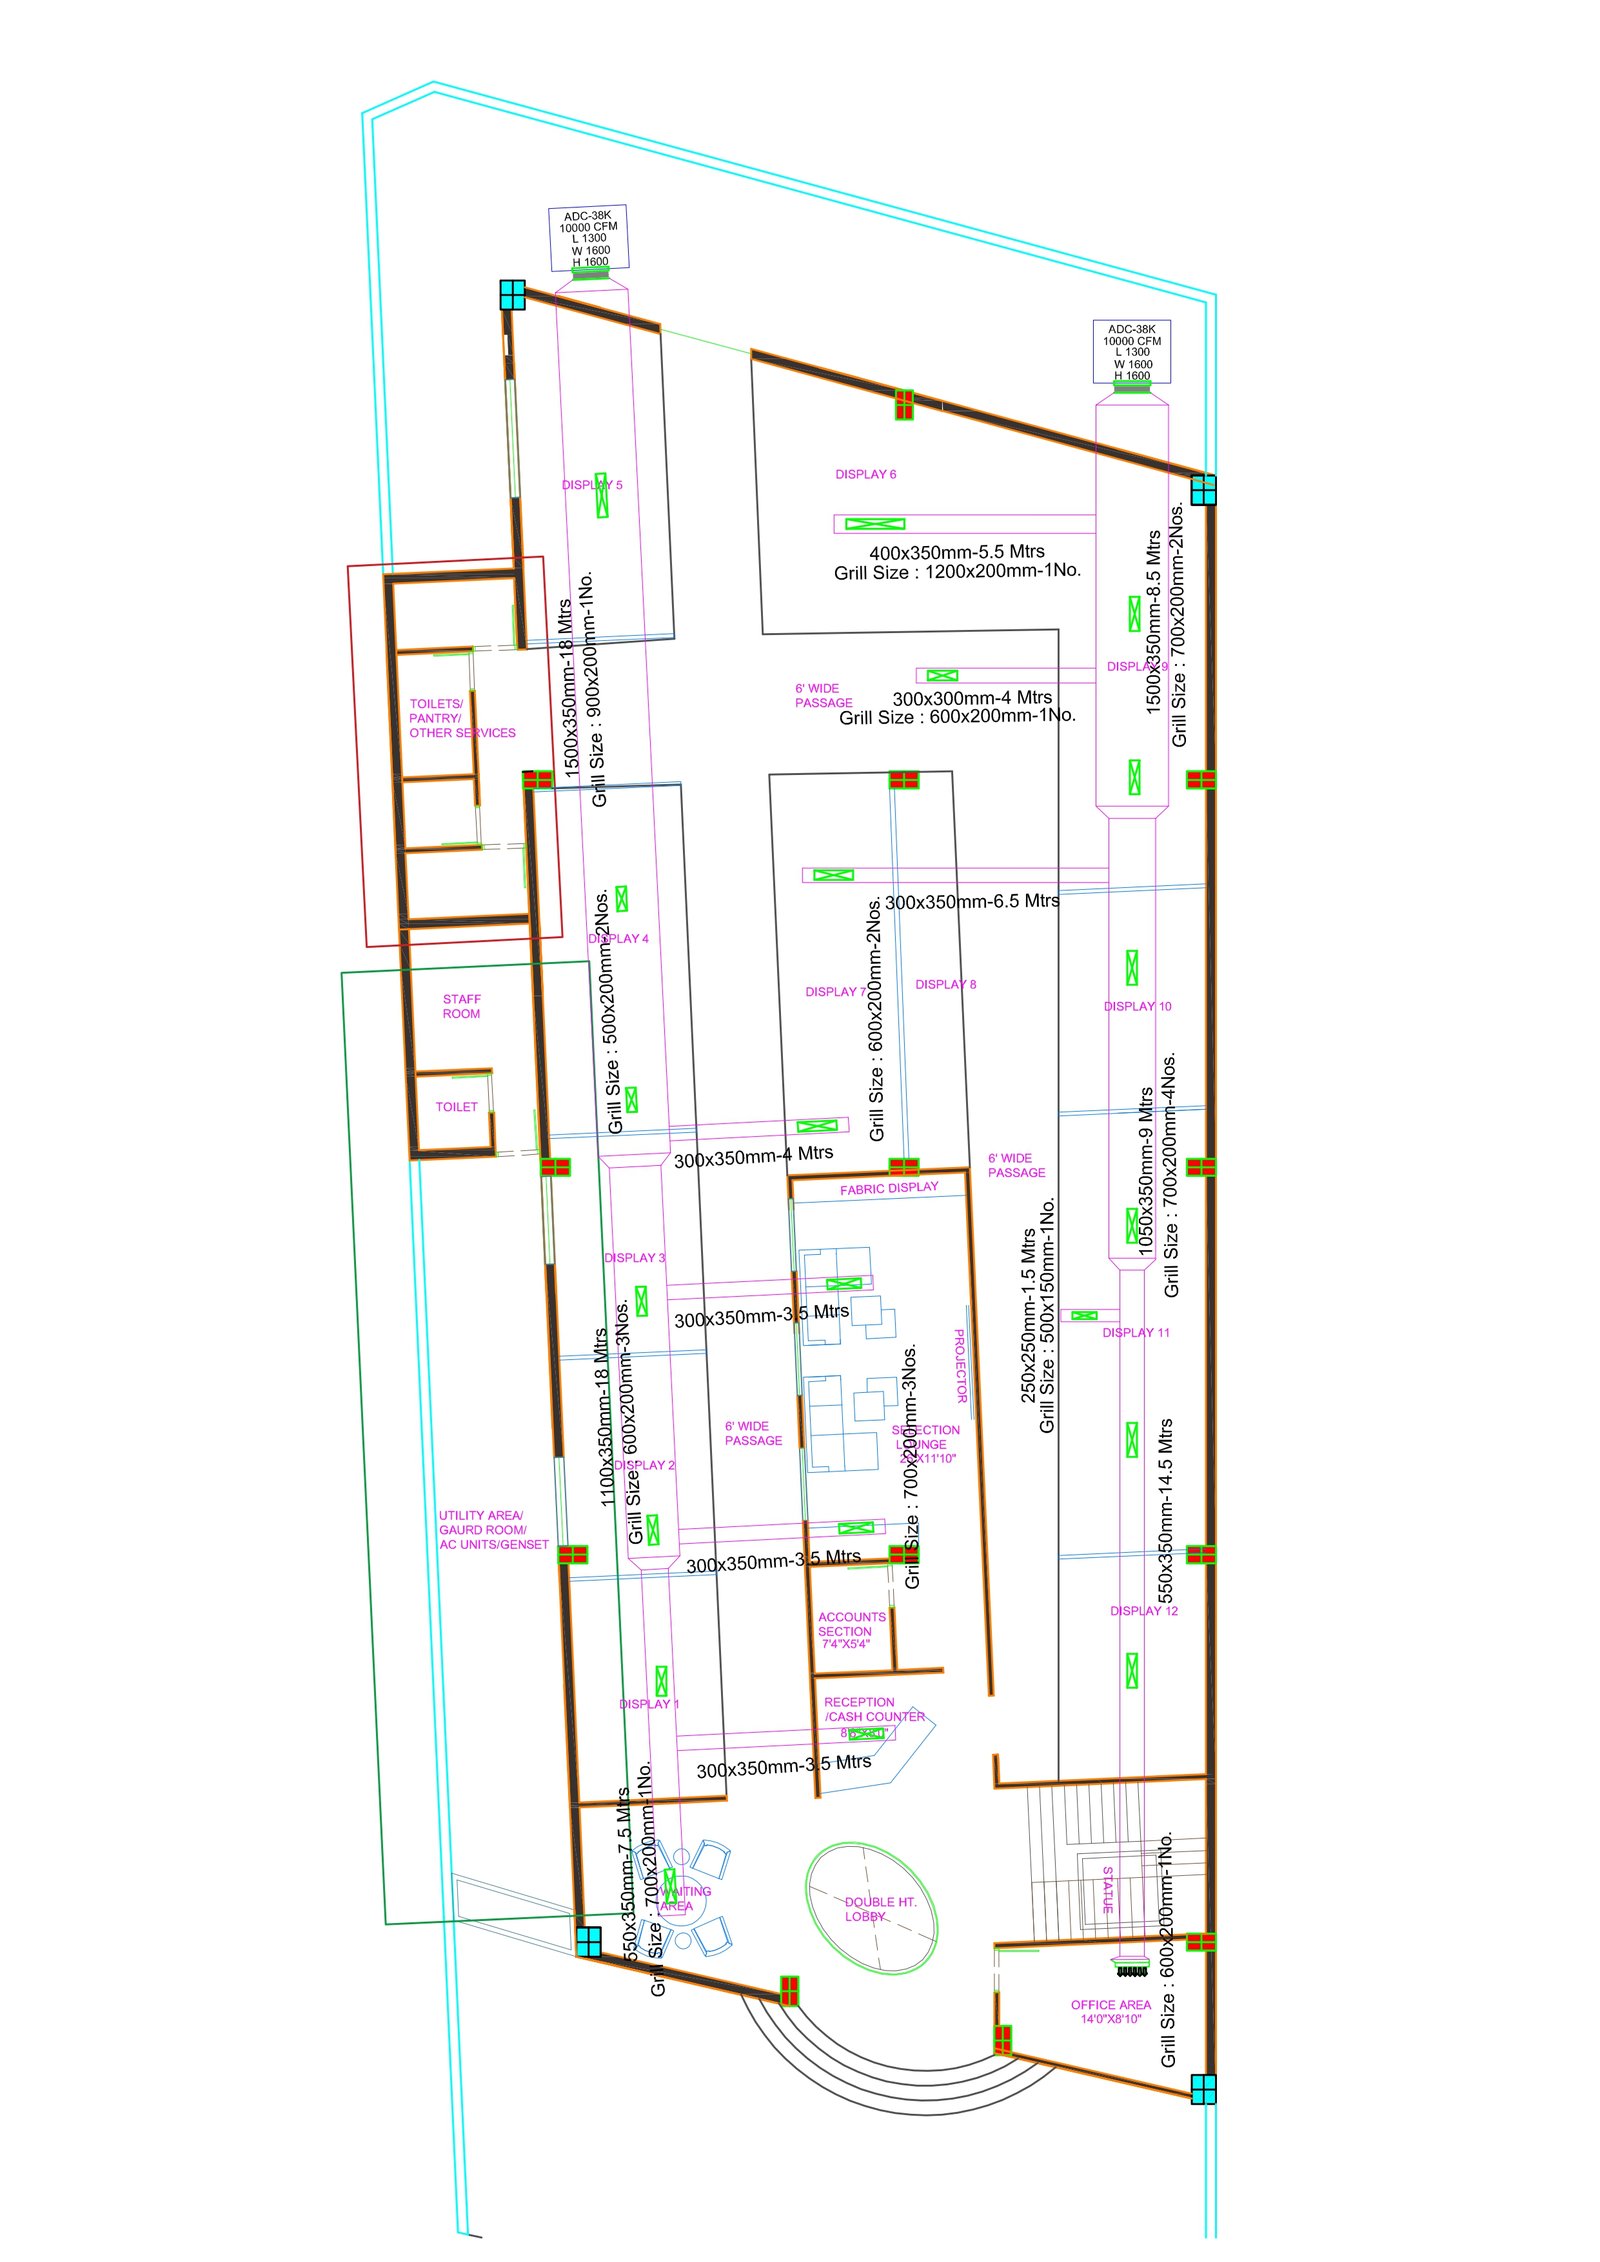
Duct Design
- Position the main trunk centrally to reduce duct lengths and pressure drops.
- Plan branch ducts for even air distribution based on room-specific cooling needs.
- Size ducts accurately using tools like duct calculators or the "equal friction" method.
- Incorporate zoning systems for areas requiring different temperature controls.
- Minimize sharp bends, long runs, and unnecessary connections to reduce resistance.
- Ensure a balanced design for uniform cooling, energy efficiency, and system reliability.
Material Selection
- Galvanized Steel: Durable, long-lasting, ideal for most systems.
- Flexible Ducting: Easy to install in tight spaces but less durable.
- Fiberglass Ducting: Effective for noise reduction and insulation.
- Use insulated ducts to minimize energy loss, especially in unconditioned spaces (e.g., attics, basements).
- Choose high-quality sealants (mastic, foil tape) for airtight connections and leak prevention.
- Opt for sturdy fasteners, clamps, and sealants to ensure secure and efficient installation.
- Prioritize materials that enhance durability, energy efficiency, and system performance.
Installation Process
- Review the duct layout plan: Ensure all materials and tools are prepared for installation.
- Clear the installation area: Remove any obstructions to allow easy access and proper installation.
- Position the main trunk line: Secure it centrally to optimize airflow and minimize duct lengths.
- Align and support the trunk: Prevent sagging and ensure proper alignment during installation.
- Connect branch ducts to the trunk: Attach ducts securely at designated connection points.
- Route branch ducts to rooms: Minimize bends and keep duct lengths as short as possible.
- Seal duct joints: Use mastic or foil tape to ensure airtight connections and prevent leaks.
- Test the airflow: Check each room for consistent airflow and identify any potential issues.
- Make necessary adjustments: Optimize airflow and system efficiency by addressing detected issues.
- Perform a final inspection: Verify all components are properly installed and functioning as intended.